Introduction
This article explains how Research Support (RS) members can create workspaces within the myDRE Admin Portal. It outlines login requirements, step-by-step workspace setup, subscription selection, and permissions management. The guide emphasizes compliance with workspace limits, communication of workspace details to users, and post-creation steps such as configuring budget alerts and network rules.
Research Support Team (RST) members can only create Workspaces in their respective subscriptions and handle their own tickets.
Key Disclaimers and Requirements
Each subscription is limited to a maximum of 100 workspaces. As theResearch Support member, it is your responsibility to ensure that this limit is adhered to. Please note that failure to comply with this limit may result in workspace deployment or functioning issues that are outside our Service Level Agreement (SLA).
Permissions to create workspaces (ST-[tenant] group for creation of workspaces on your own organization's subscription). If you're unsure check with anDREa support your permissions.
Workspace creation
As a Research Support member for your organisation, you are able to create Workspaces on the request of users.
- Navigate to myDRE Admin portal.
- Log in with your Research Support account - This is not your @mydre.org account but your institutional account.
- Once logged in, navigate to Workspaces and click Create workspace button
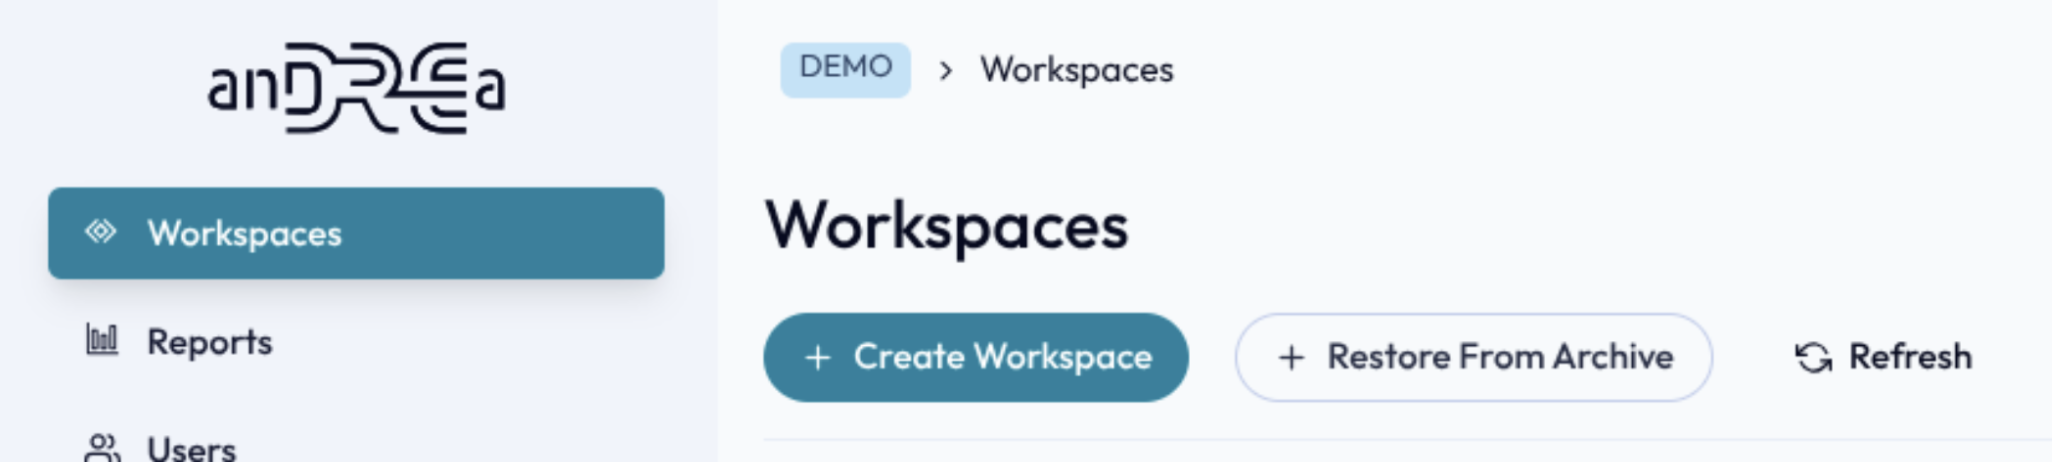
- Fill in the details. The details should be in the ticket request. Make sure you select the appropriate subscription for deployment. If the Accountable or Privileged member is not known yet in the myDRE system (EntraID), create the user as in Creating new users or create a ticket for anDREa support who have access to the EntraID.
Link naar page Creating new users
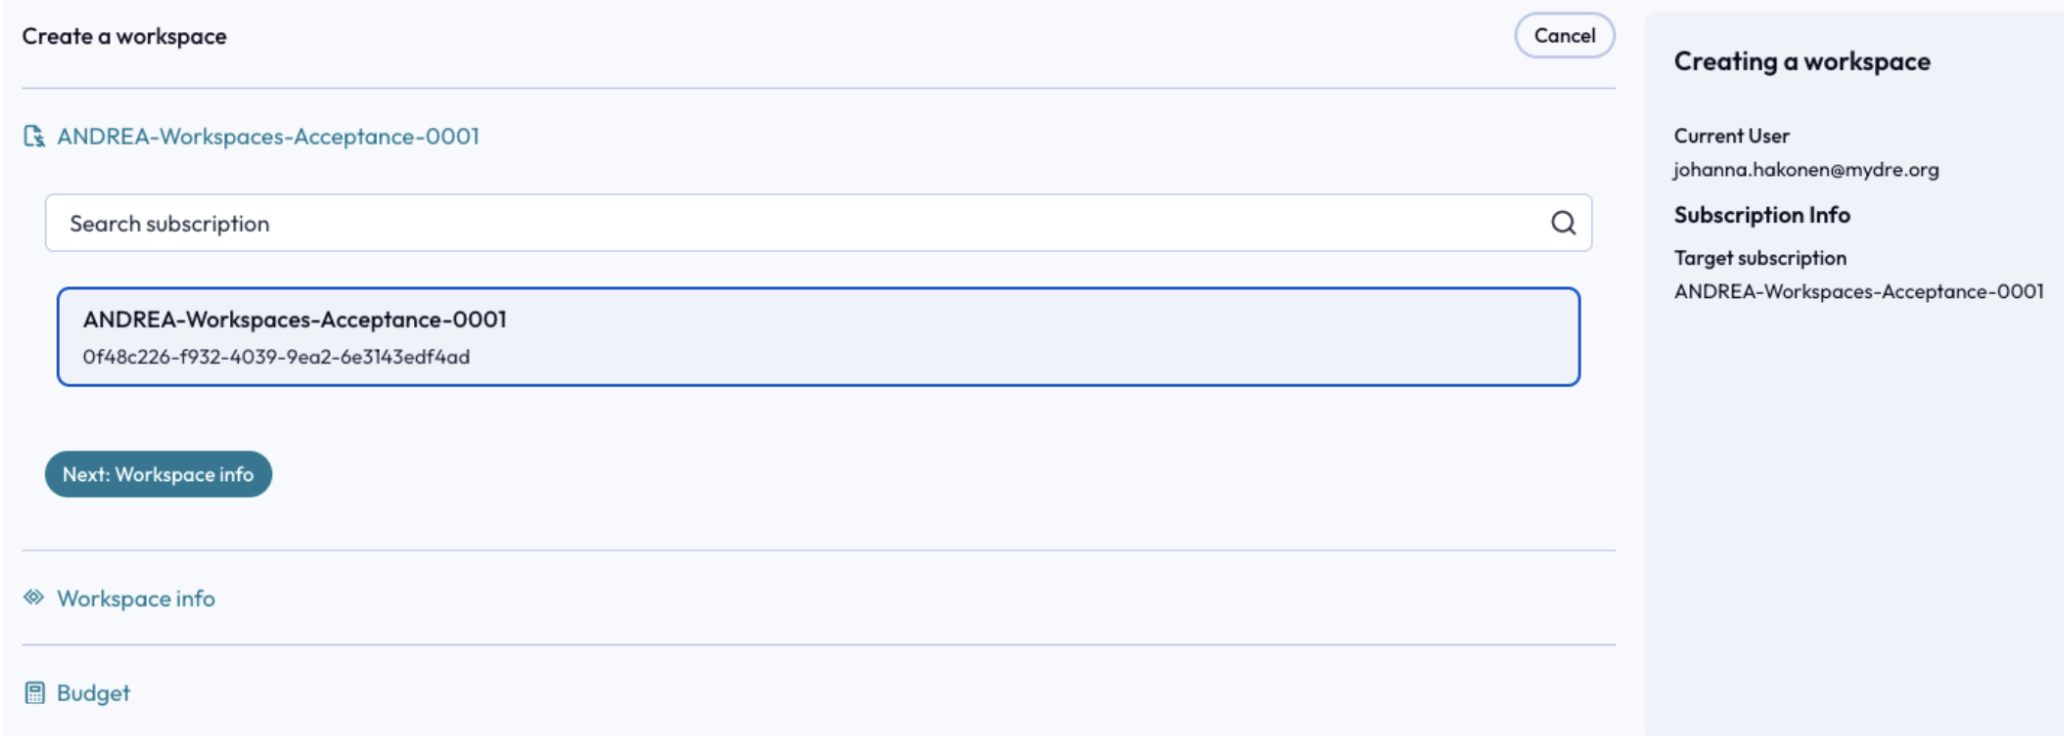
- Select the correct subscription
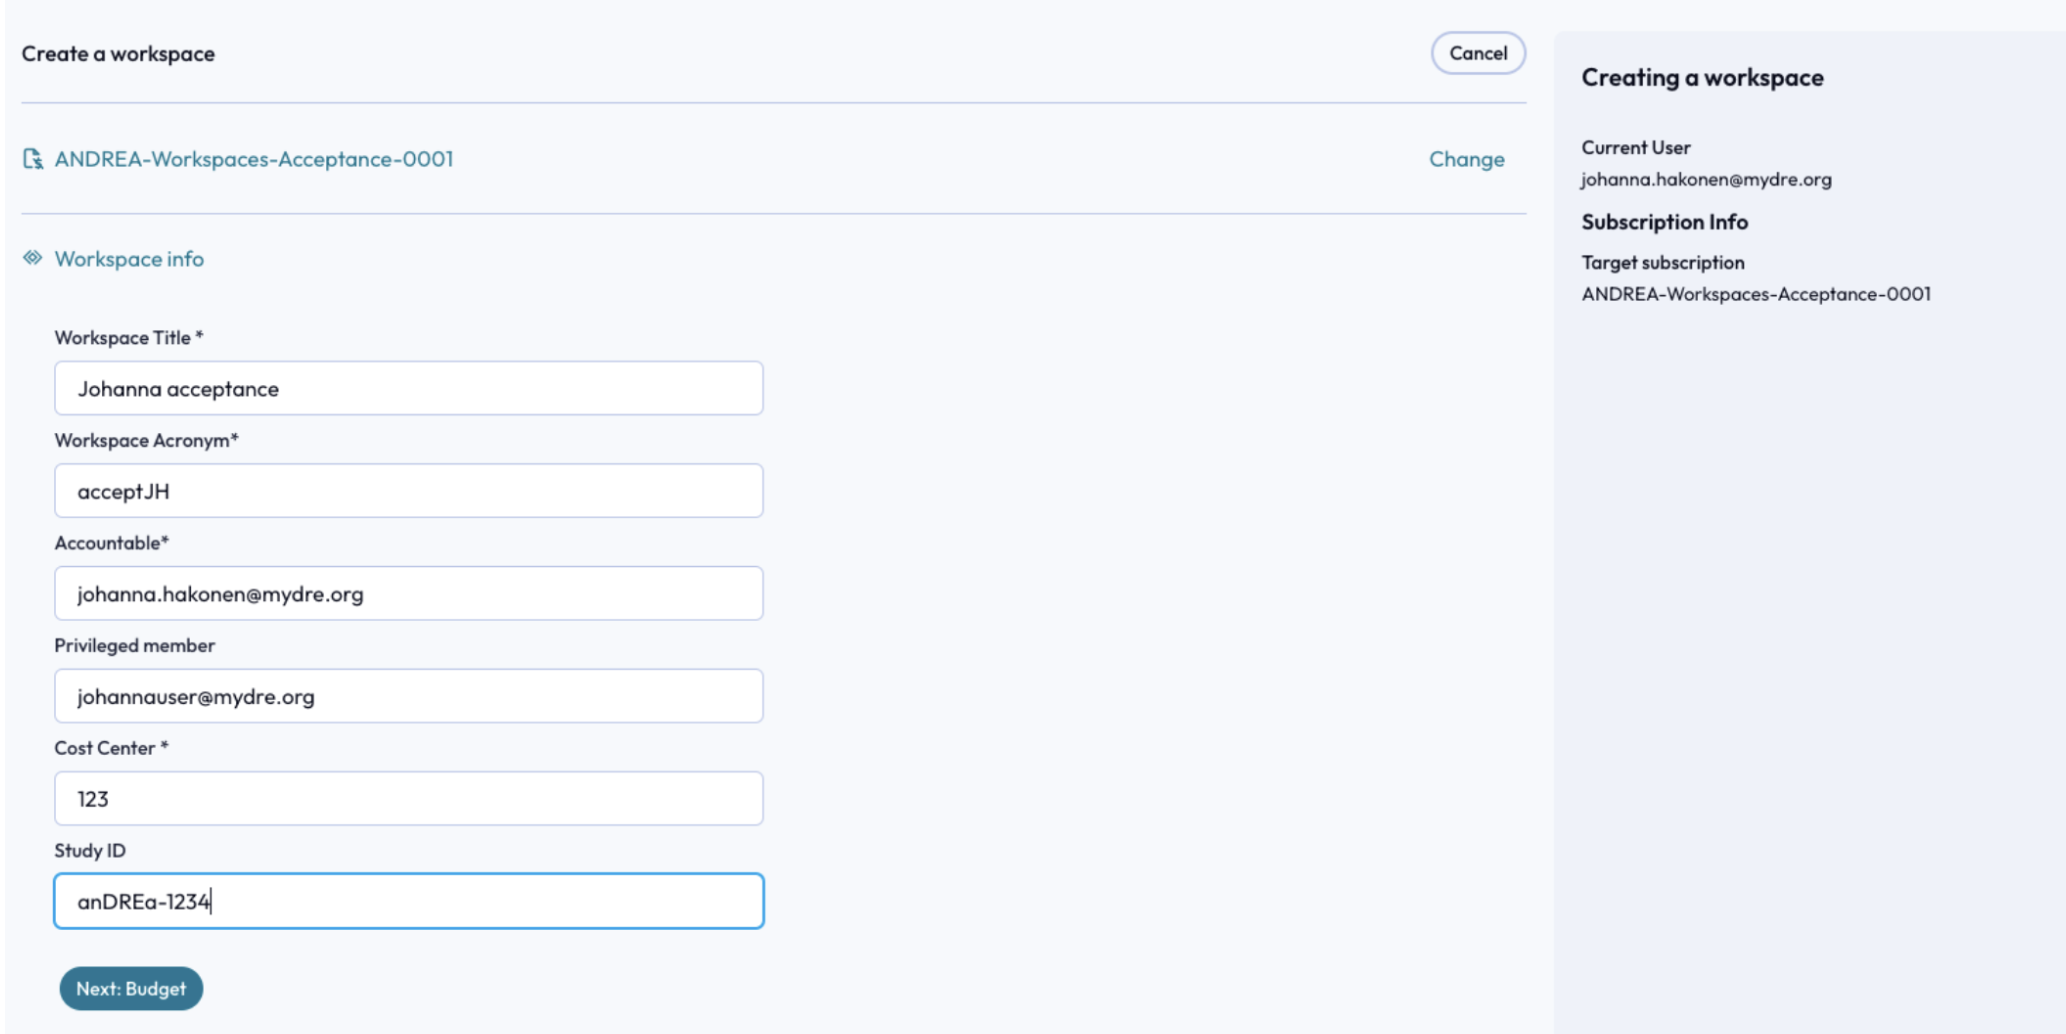
- Fill in workspace information details (details from the Zoho ticket)
- Proceed to setting up initial Budget alerts (workspace members can change this later)
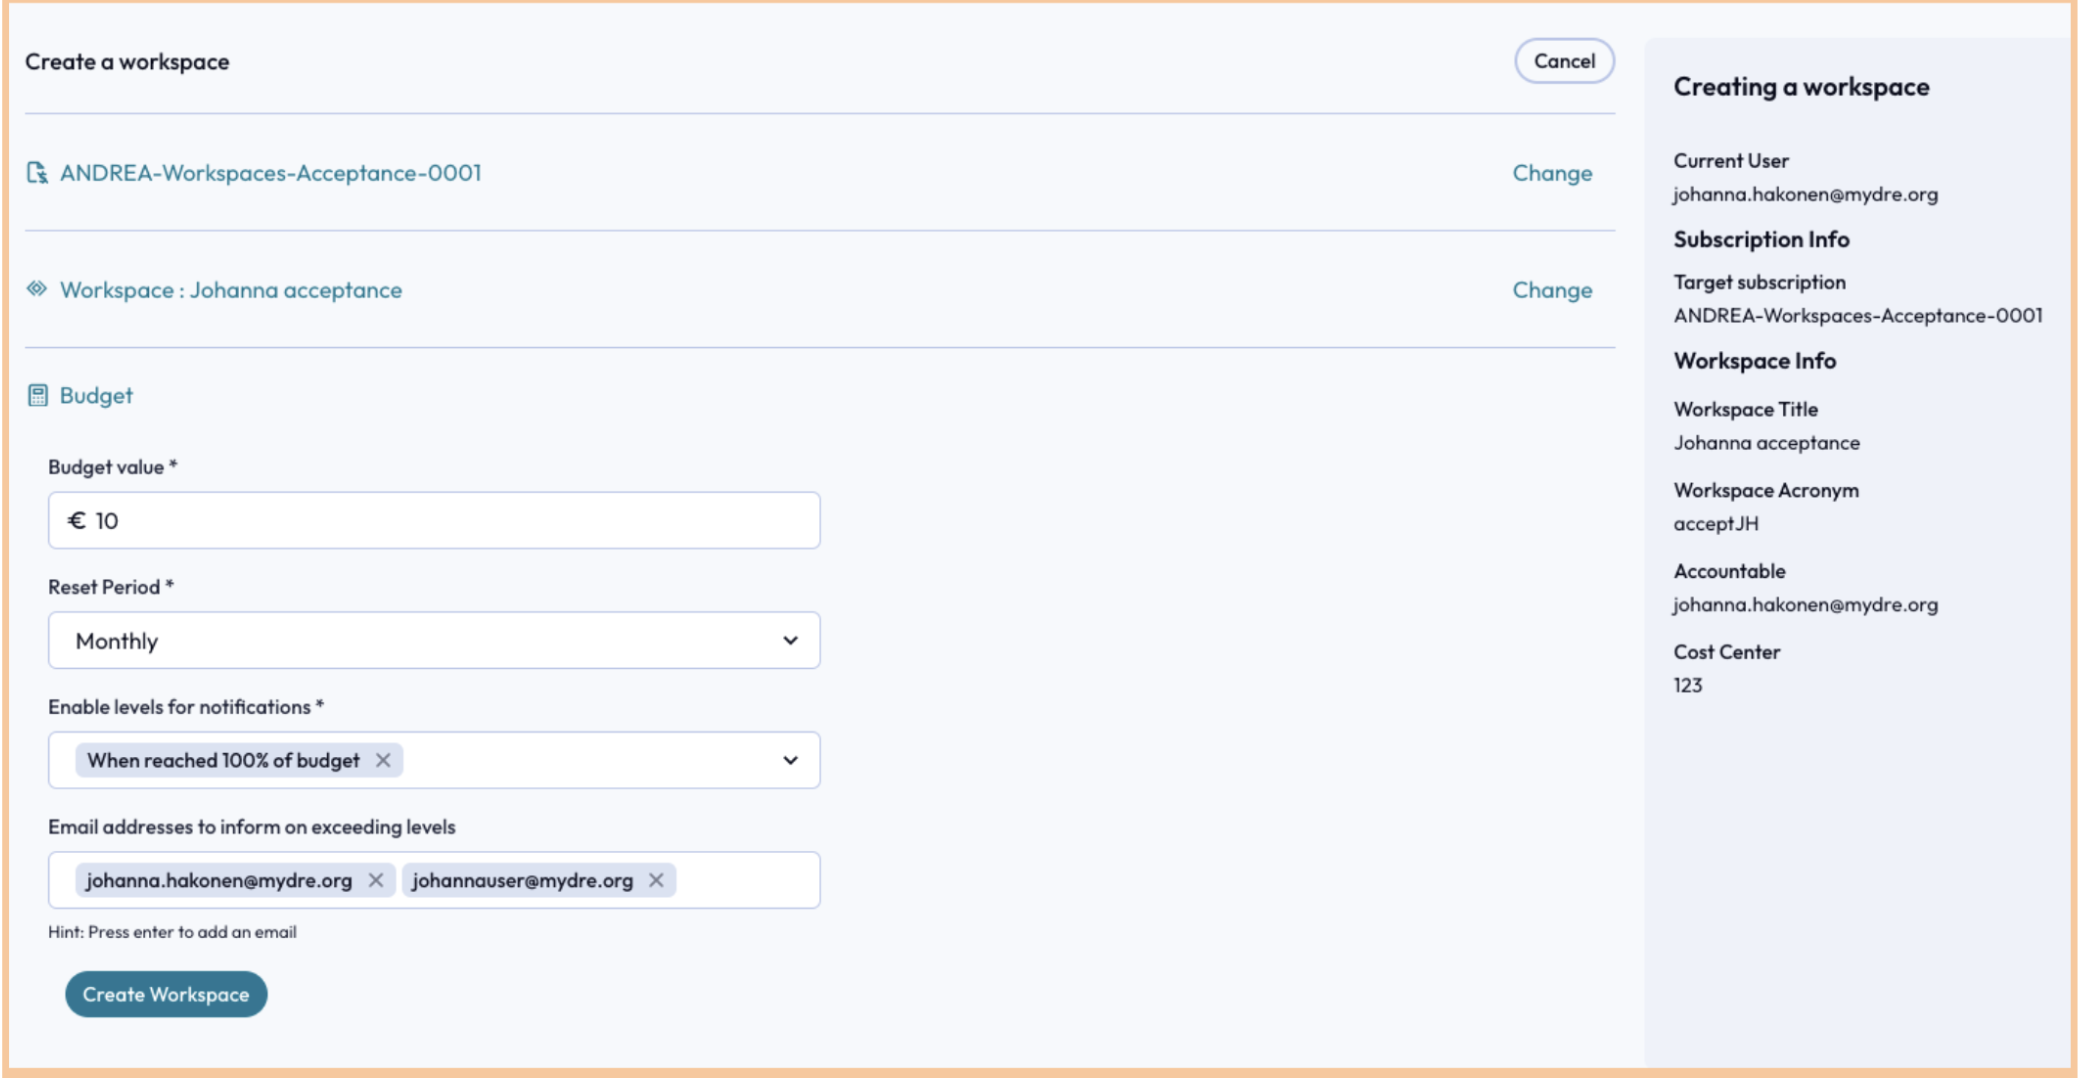
Please ensure that Accountable and Privileged member are not the same person. Privileged member field is optional so you can leave this blank.
- Click on Create Workspace
- Workspace will start deploying. Please wait patiently before the next screen is loaded.
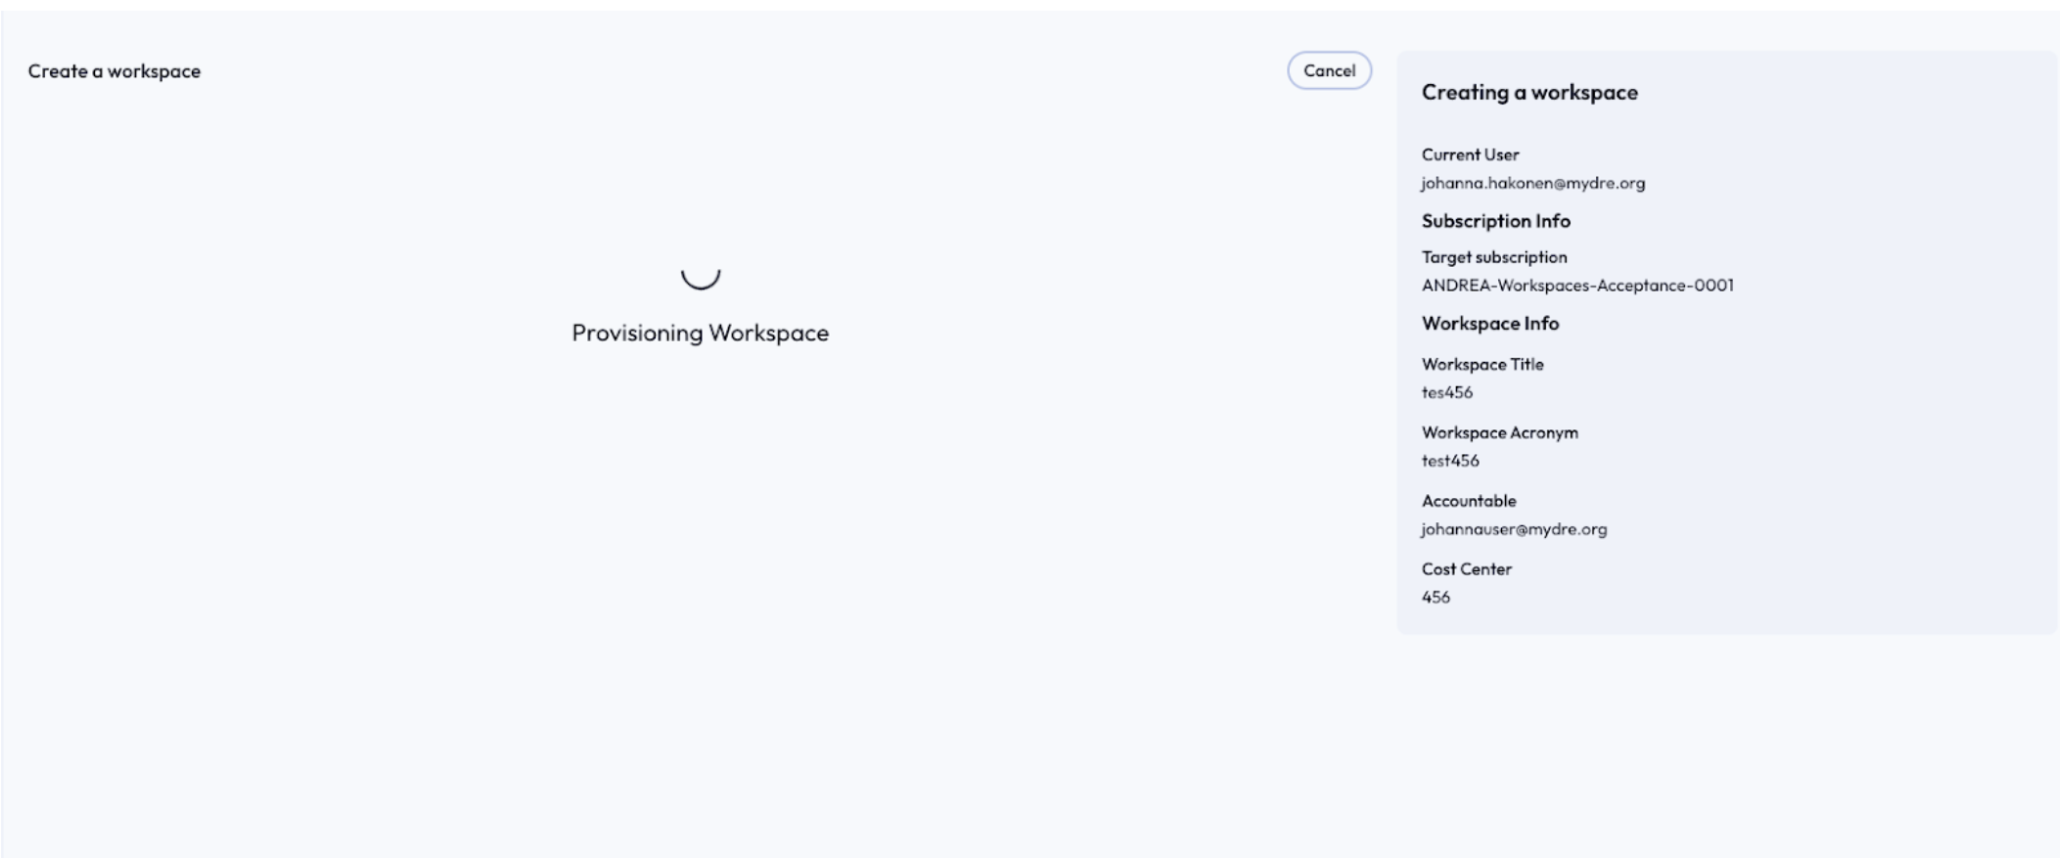
- In the screen below you can view the deployment process for workspace creation (logs) see the logs that are being generated while workspace is being created.
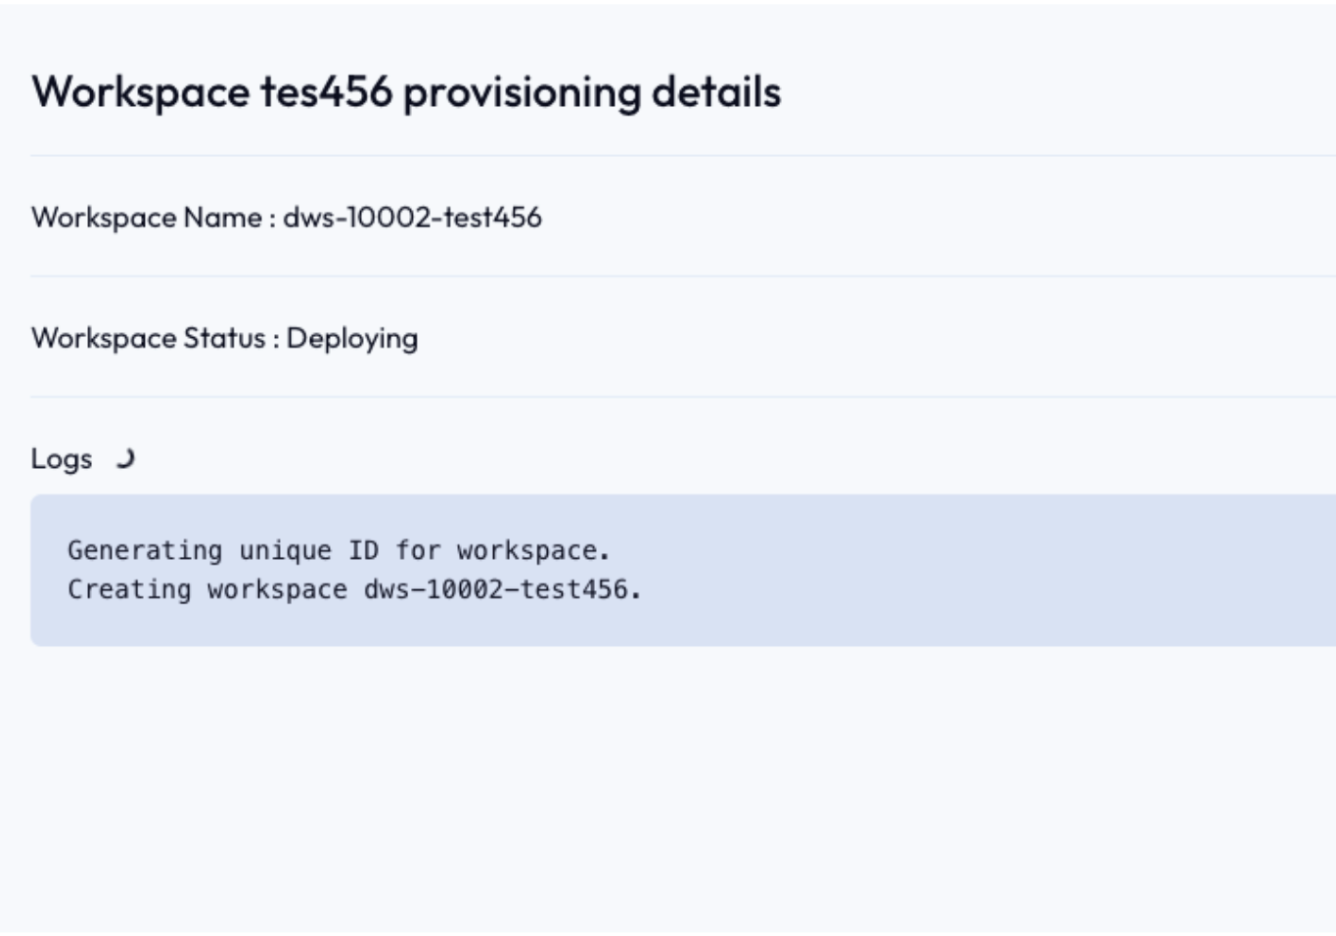
Please note that no VMs will be added to the workspace, workspace Accountable or Privileged member will be responsible for that
You can now communicate the workspace name and instructions how to get started to the workspace users.
Related article: Workspace Management Admin Portal
Link naar page Workspace Management Admin Portal